Salesforce Deployment Using Change sets
Updated 14 October 2025

We will discuss about Salesforce Deployment process in this blog.
What is Deployment?
Moving or transferring the metadata changes from one Salesforce Org to another Salesforce Org.
What is the need of Salesforce Deployment Using Change sets ?
Salesforce do not allow development in your Production org. A production org is your live Salesforce instance. Making any kind of Development work on your Production Org could be critical to your customers and business.
Adding a field to an object or a tab to an app or move a field around, you are changing an app (or potentially creating a new one), writing classes or triggers for a specific functionality. These are all development tasks.
Doing any of these in your Production Org may create issues for the users accessing the Org. So, a best practice is to do changes in the Sandbox copy of your Salesforce Production Org and deploy them later on to Production Org.
How to Deploy/Deployment Process ?
There are many tools for deployment. we are discussing here about Change sets.
1. Create/Use Sandbox :
You need a Sandbox copy of your Production Org where you will make changes. You can create Sandbox of your Production via Setup -> Sandboxes -> New Sandbox
Provide a Name and description for the sandbox copy and select the required type.
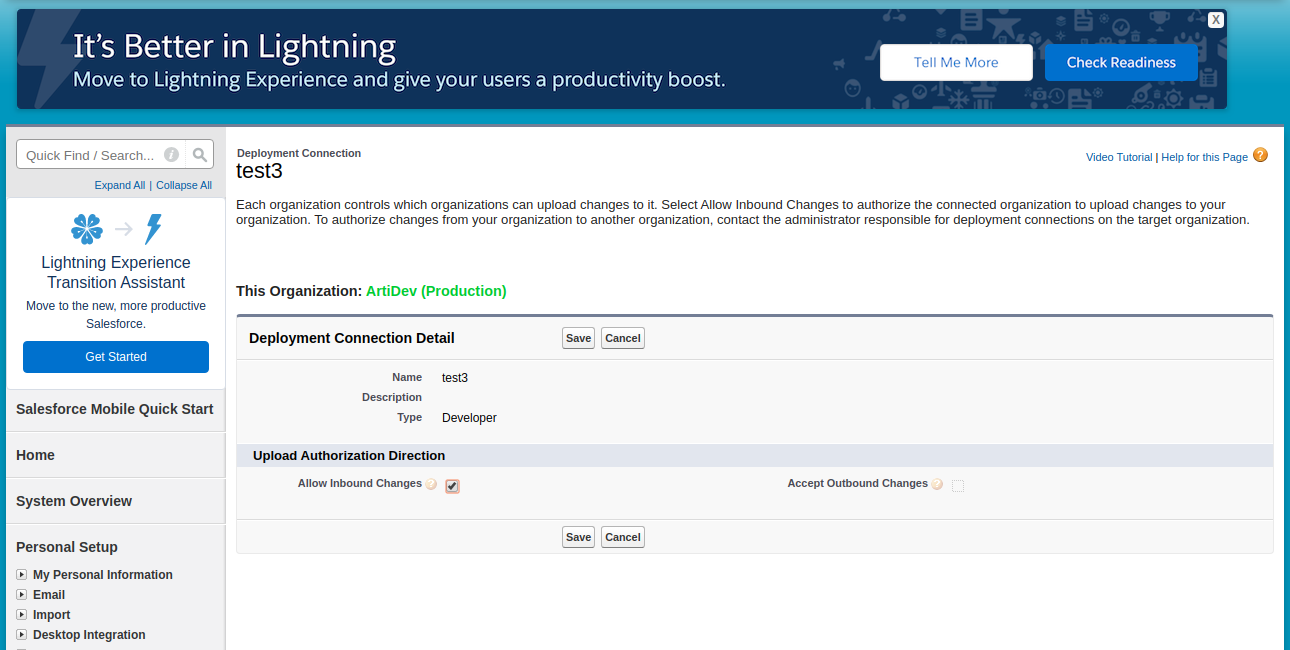
2. Authorize a deployment Connection :
In Production Org,
Go to Setup -> Deployment Settings -> Select the Particular Sandbox -> Check the Allow Inbound Change sets
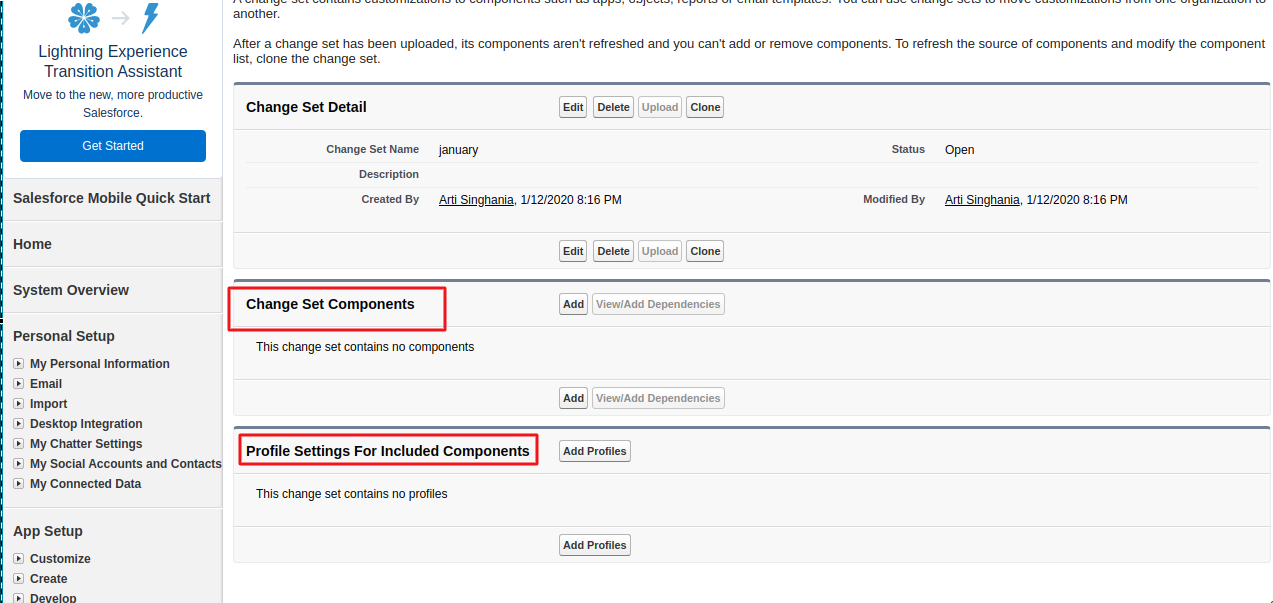
3. Create/Upload Outbound Change sets :
Login to your Sandbox copy where you have made the required changes. You can login via moving to Setup -> Sandboxes -> Login option provided before the Sandbox name.
In Sandbox Org,
Go to Setup -> Outbound Change sets – > New – > Provide Name & Description – > Add Components and Profiles you want to upload -> Click upload
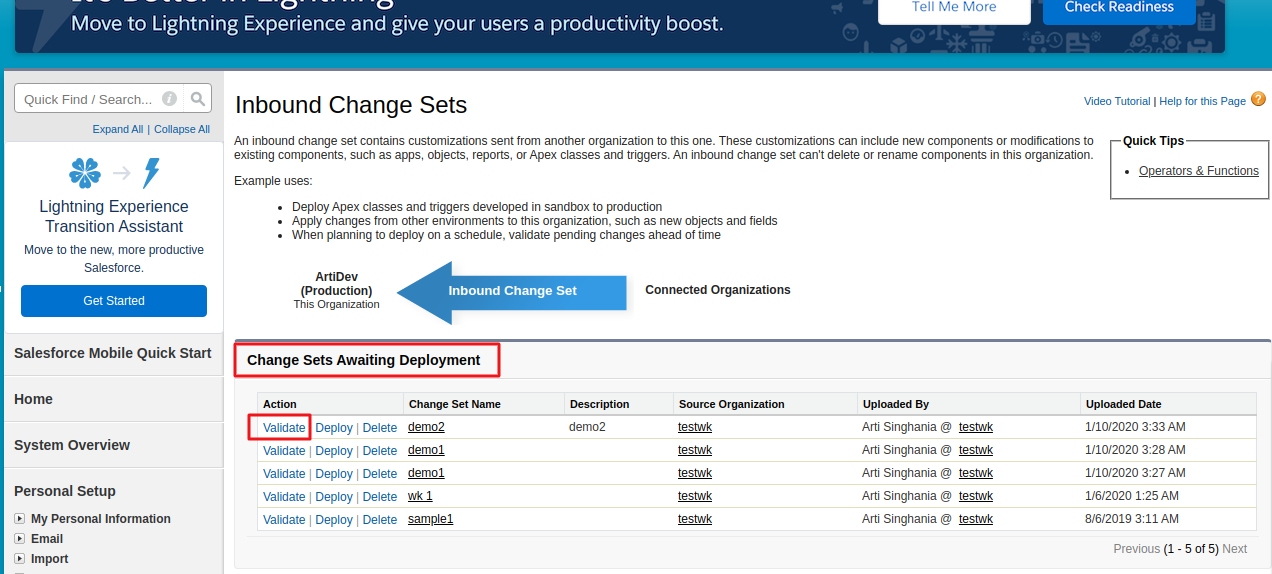
4. Validate changes :
In Production Org,
Move to Setup -> Inbound change sets
If the upload was successfully completed, you will be able to view the list of deployment changes in this Inbound Change sets view.
Click on the particular Change sets and validate it.
There are some test validate option provided, you can choose as per your requirement, the first once is treated as default for Sandbox i.e. no test is performed in this case.
5. Deploy the changes :
After the Successful validation you can select Deploy. Now You check the running Deployment Status via Deployment Status option
Setup -> Deployment Status
If you are deploying code changes then for a successful validation and deployment your code must have at least 75% test coverage.
Support
That’s all for Deployment using change sets. If you have any issue feel free to add a ticket and let us know your views to make it better https://webkul.uvdesk.com/en/customer/create-ticket/
Webkul is a proud salesforce partner and offering “salesforce consulting services” https://webkul.com/salesforce-consulting-services/
Read More : https://eshopsync.com/register-your-domain-in-salesforce/

Be the first to comment.