Let us learn, how to change the default logo of an app in Lightning Experience. Salesforce has introduced many new features in Winter ’17 release, such as Kanban on Leads, Campaigns & Contracts, Predictive Lead Scoring, Whole New look of App Launcher, etc. (You can refer to our previous blog for more information about Top Features Of Sales Cloud In Winter ’17 Release & Top Features Of App Cloud In Winter ’17 Release). Among those features, changing the default logo of the app is the one. It is similar to the functionality of changing the default logo in Salesforce Classic with a slight difference.
Customizing the Salesforce logo in lightning Experience
1) Goto Setup home.

2) Follow these steps:
1: Goto Apps > App Manager
2: Click on New Lightning App

3) Create an App.
1: Fill the Information of the app
2: Click on the upload sign.

3: Click Next

4: In App Options check the “Open CTI Softphone” checkbox and Click Next.
5: Select items.

6: Assign to Profiles and Save.

4) Goto App Launcher

5) Select your App.

You can see the customised logo instead of default logo.

Where is the logo image saved?
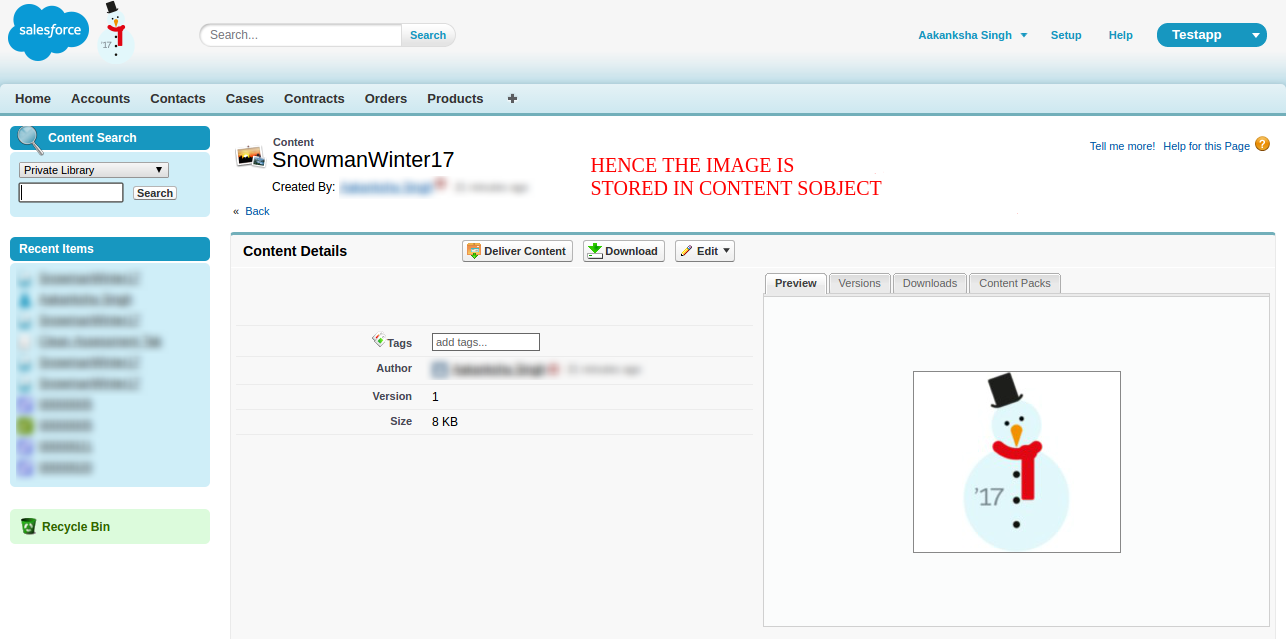
In Salesforce classic we use to upload the file as Document and then only we were able to change the logo. But now in lightning experience the image is uploaded directly. The image is stored in the Content SObject, at the time of upload itself. You can refer to the following steps to view the detail page.
1) Switch to salesforce classic.

2) You can see the name of the image is updated on your home page side bar. Click on it.

3) You notice the page URL starts with the key-prefix “069” which is content SObject.

4) Click on the link “Go to Content Detail Page”.

Support
That’s all for how to change the default logo of an app in Lightning Experience, still have any issue feel free to add a ticket and let us know your views to make the code better https://webkul.uvdesk.com/en/customer/create-ticket/
Read More: Access Salesforce Classic App in Lightning Experience


Leave a Comment
Comments (1)